Introduction: Can You Build a WordPress Website Using AI?
Yes, you can. And we did.We weren’t under pressure, nor were we racing a deadline. Instead, we were simply driven by genuine curiosity
We’ve been watching AI evolve for years – writing blogs, generating code, even designing logos. But could it build a full WordPress website?
We weren’t under pressure, nor were we racing a deadline. Instead, we were simply driven by genuine curiosity.
So, we decided to explore.
Could we go from idea → prototype → live WordPress site, all using AI tools?
We tested three of the most talked-about platforms, Lovable, ZipWP, and 10Web, and documented every step of the process. Along the way, we discovered AI website builder for WordPress tools that are great for speed, which ones are better for customization, and how to combine them to get the best results.
In this guide, we’ll walk you through the exact process of building a WordPress website using AI tools – starting from a prototype, moving to a real WordPress build, and ending with a fully hosted, editable site.
By the end, you’ll know exactly how to:
- Prototype a site design in seconds
- Generate a working WordPress site with real pages
- Customize and host it with zero coding
- Refine content and design with AI assistance
Let’s break it down.
Tool 1: Start with Design Using Lovable AI Website Builder
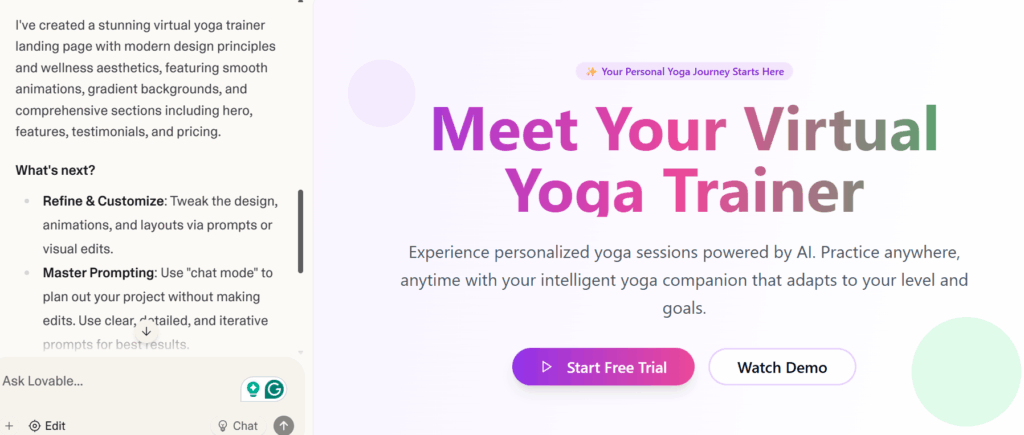
We began with Lovable, an AI website builder known for its simplicity and speed. It doesn’t require an account or setup; you just type what you want, and it generates a fully designed one-page site in seconds.
How to Use Lovable:
- Go to Lovble.com
- Enter your business or website idea
Example: “Landing page for a virtual yoga trainer” - Click Generate
- Review the visual layout
- Copy the preview link to share with clients or stakeholders
What Lovable Does Well:
- Lightning-fast setup: Get a live preview in seconds.
- Great for client-facing mockups: Perfect for quick MVPs and feedback loops.
- Shareable link: Send the link for instant viewing, no hosting required.
But Here’s the Limitation:
You can’t export to WordPress. While Lovable is fantastic for initial pitches, you can’t export the design into WordPress. After your layout has been checked, you will have to work with a more adaptable platform to do the actual WordPress development.
Takeaway: Use Lovable to prototype quickly and gain visual approval, then transition to a more customizable platform for development.
If WordPress is Not a Requirement, Here Are Your Next Steps:
If you don’t need to move your site to WordPress, Lovable offers a variety of options to deploy and manage your site:
- Deploy Your App:
- Click the Publish button in the top-right corner of Lovable.
- Your app will be assigned a free .lovable.app domain.
- Share the link with potential clients to showcase your app.
- Code & Hosting Options:
- Option 1: Stay with Lovable (Easiest)
- Keep building and iterating directly in Lovable.
- Use Lovable’s built-in hosting (a free tier is available).
- Upgrade to connect a custom domain later.
- Option 2: Connect to GitHub
- Click the GitHub button in the top-right corner of Lovable.
- This creates a repository with all your site’s code and enables two-way synchronization between Lovable and GitHub.
- You can deploy your app to platforms like Vercel, Netlify, or other hosting services.
- Option 3: Download & Self-Host
- Export your code from GitHub.
- Deploy your app to your preferred hosting platform.
- Manage your own domain and infrastructure.
- Option 1: Stay with Lovable (Easiest)
Tool 2: Generate a Real WordPress Site with ZipWP
Since Lovable doesn’t offer WordPress integration, we needed a tool that could create an actual WordPress site. The next tool we explored was ZipWP. It generates a full website with pages like Home, About, Contact, and Services, all editable inside WordPress.
How to Use ZipWP:
Visit zipwp.com and sign up
Step 1: Enter Your Website Details
Provide basic information about your website, such as the name and the type of business it’s for. This helps ZipWP tailor your website’s structure and theme.

Step 2: Describe Your Business
Enter a brief description of your business. This will help ZipWP better understand the purpose of your site and guide its design and content creation. The description should include the services you offer and your goals.
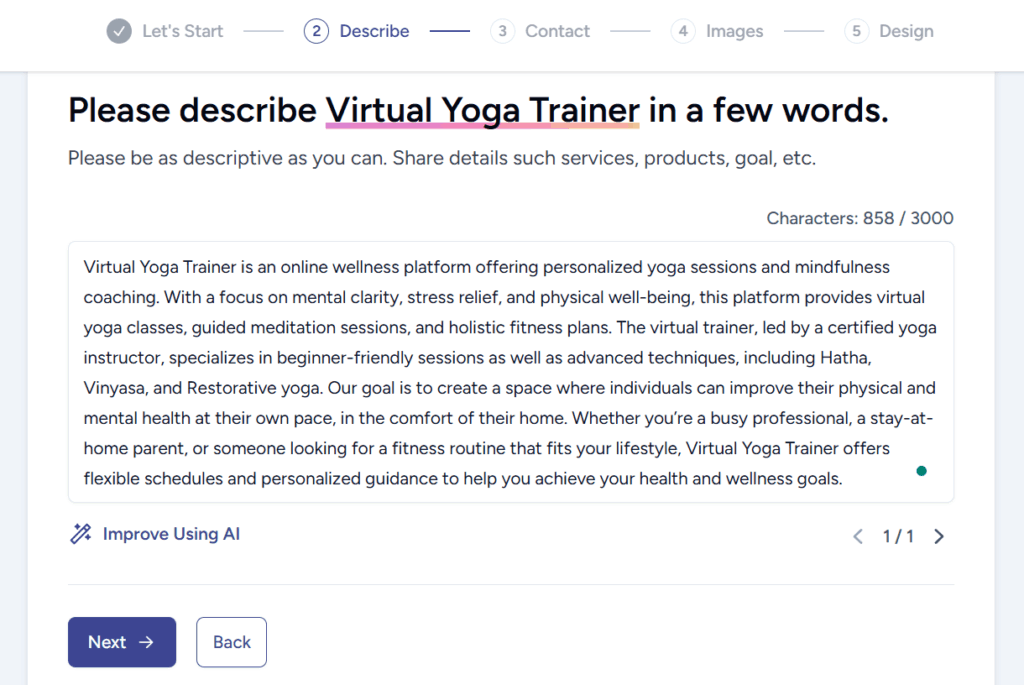
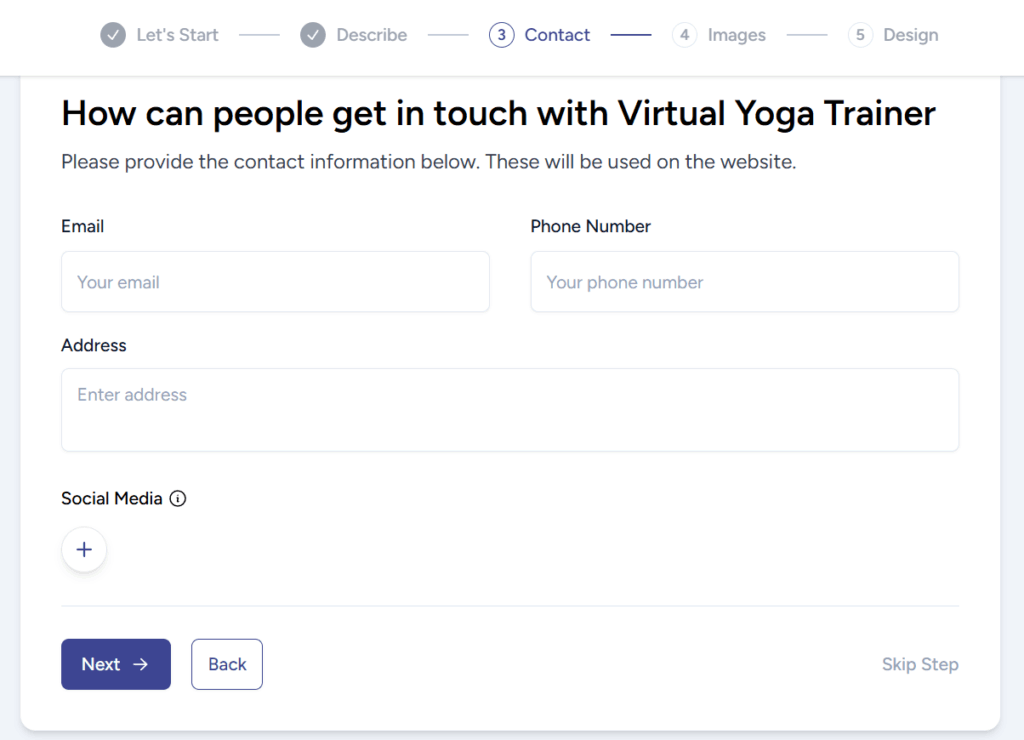
Step 3: Get in Touch with Virtual Yoga Trainer
Now that you’ve created your website, it’s time to add your contact details to make it easy for your clients to reach out. ZipWP allows you to include key contact information on your website.
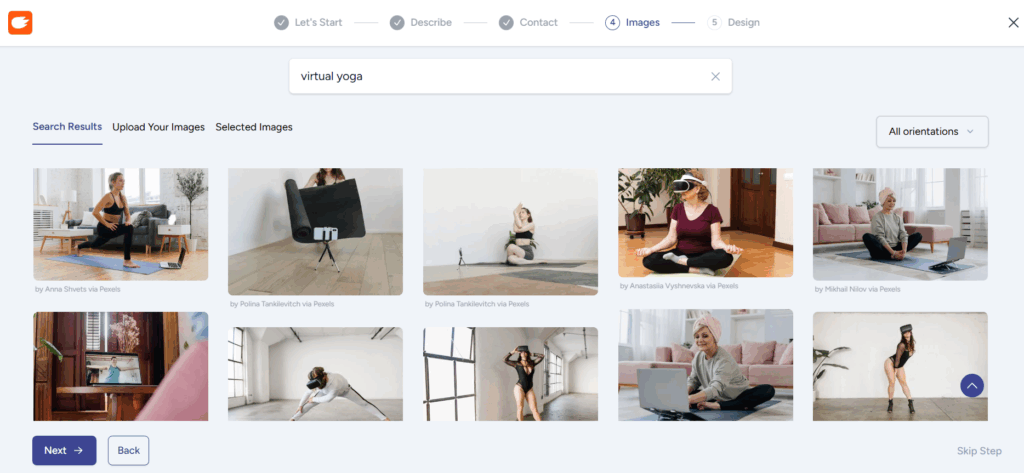
Step 4: Select Images for Your Website
To achieve a good-looking and professional website, the use of images is paramount. Get images that describe your type of business and are appealing to you and your consumers. ZipWP enables you to add images conveniently to both your pages.
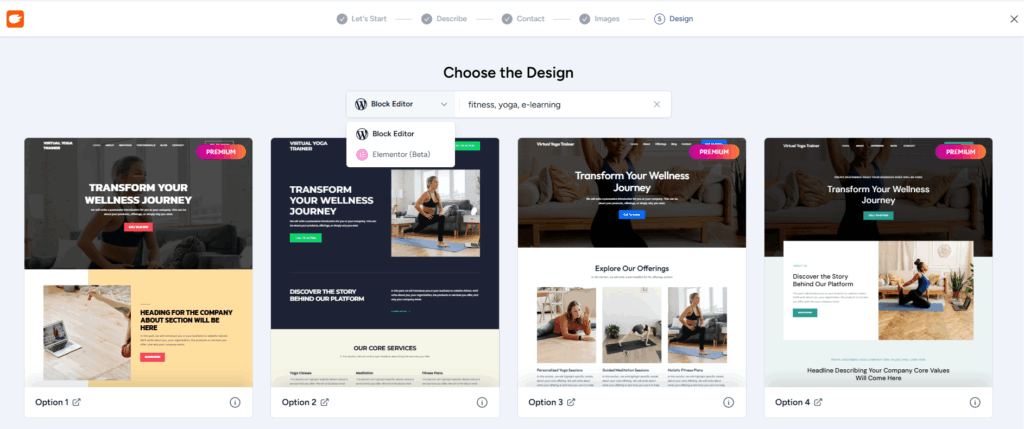
Step 5: Select Your Design
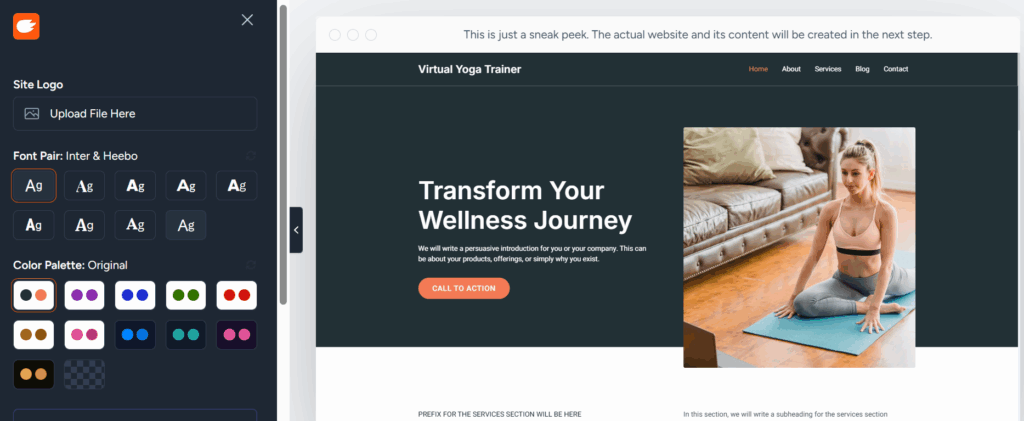
Your site is now provisioned with the basic information and the contact information, and therefore now is the time to select a design to suit your business and represent your brand. ZipWP gives you more opportunities to change the appearance of your website: you may choose a theme and modify its style. You are also able to select the color, fonts,etc.
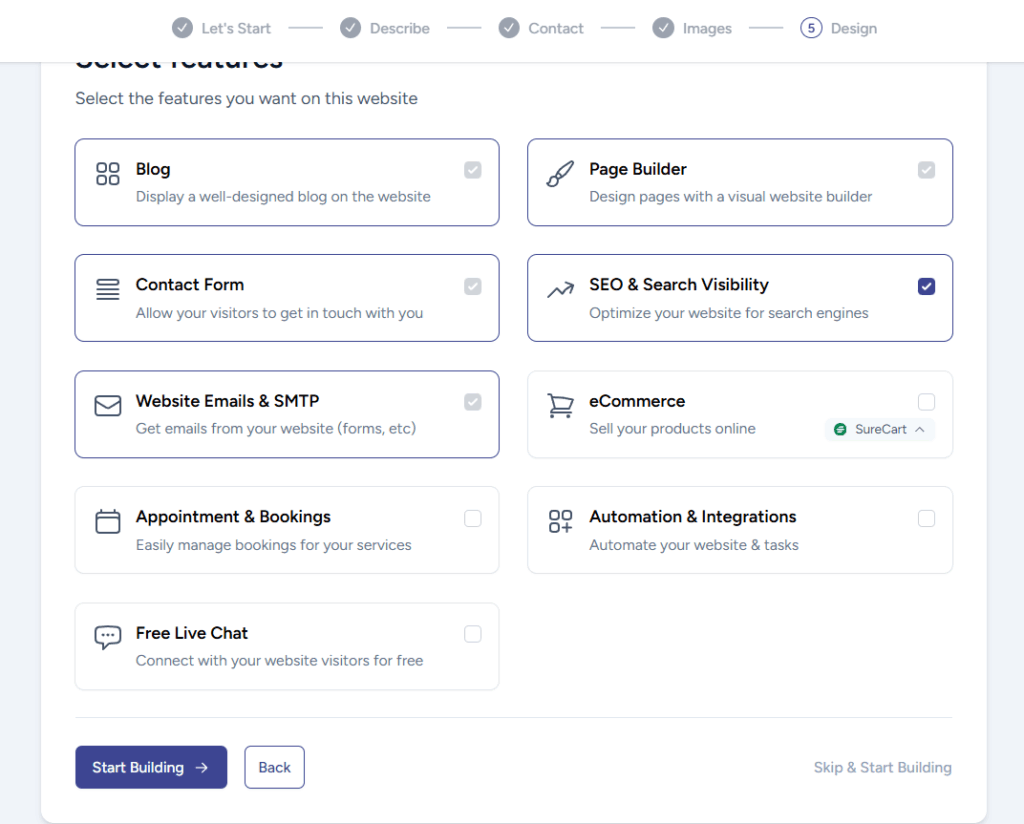
Step 6: Select Features for Your Website
Now that your site is set up, it’s time to choose the features that will make it more functional and enhance user experience. ZipWP allows you to select from a variety of useful features based on your business needs.
Editing Your Website with ZipWP
Once the site is created, any element of the page can be changed easily. All you have to do is give a simple click on the section you would like to edit, and you will get a chance to click on the button, Edit Page. This action will open the page in the WordPress editor where you will be able to modify it, add or delete content, and modify the layout according to the requirements.
Accessing the WordPress Admin Dashboard
After the creation of your site, you will have access to the WordPress administrative dashboard (wp-admin). It is at this point where you can manage and edit your content, install plugins, and settings in your site.
Go Live and Connect Your Domain
Once you have customized your site, zipWP provides an alternative to linking your domain and going live. All you have to do is follow the screen steps to connect your domain and then publish your site to the world.
Why We Recommend ZipWP:
- Generates a full site in 60 seconds
- Includes backend login—fully WordPress native
- Great starting point for freelancers, agencies, or product launches
Limitations:
- Text and visuals are placeholder-level (you’ll want to refine)
- No built-in hosting (you’ll need to migrate to your own host)
Pro Tip: ZipWP is perfect for building live demos or MVPs fast. Use it to launch, then expand with your own plugins and branding.
Tool 3: Customize and Host with 10Web AI WordPress Builder
10web offers the most powerful AI WordPress website builder for users who want a hosted, editable, SEO-optimized solution out of the box.
It integrates Google Cloud hosting, Elementor drag-and-drop, and AI-generated pages with images and text.
How to Use 10Web:
Step 1: Sign Up for 10Web
Before starting, sign up or log in to your 10web.io account. Once logged in, you’ll be taken to the dashboard where you can choose the type of website you want to create.
Step 2: Select the Website Creation Option
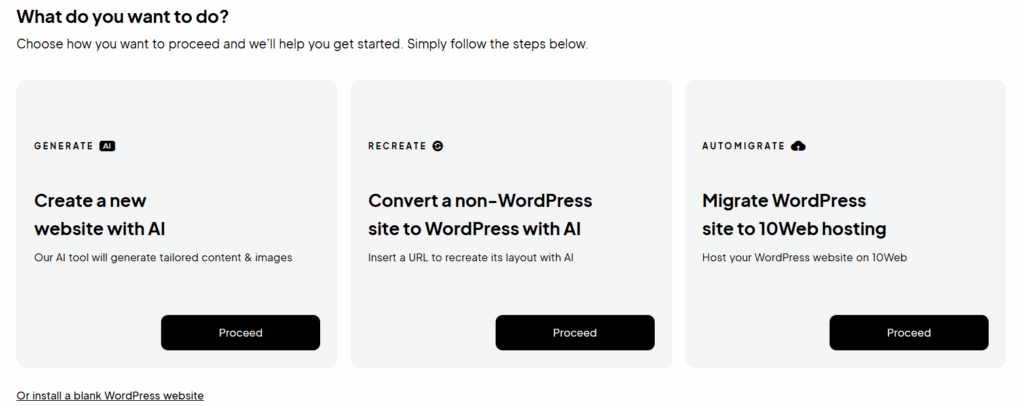
On the dashboard, you will see three options for getting started with AI:
- Create a new website with AI (Select this option to generate a new website from scratch using AI)
- Convert a non-WordPress site to WordPress with AI
- Migrate an existing WordPress site to 10Web hosting
For this guide, select “Create a new website with AI”.
Step 3: Choose Your Website Type
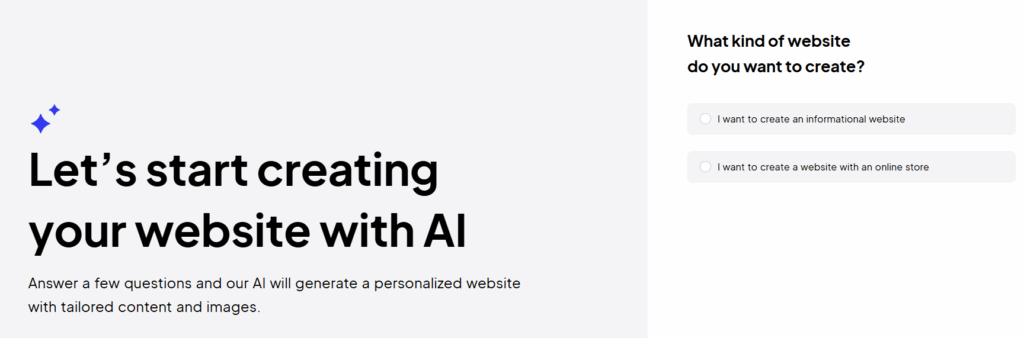
Next, you’ll be prompted with the question: “What kind of website do you want to create?”
- I want to create an informational website
- I want to create a website with an online store
Choose the one that best fits your needs. For this example, we’ll proceed with “Informational website”.
Step 4: Site Type
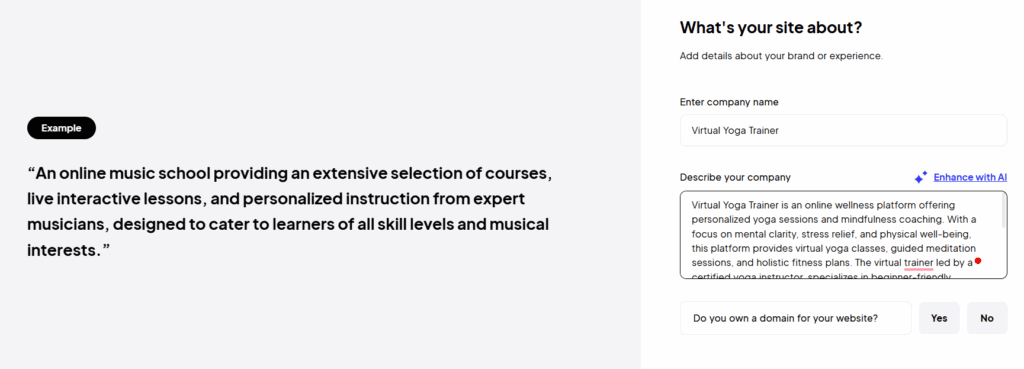
The first step in customizing your website is to define the Site Type. You’ll be asked to select your business type to help guide the design and content.
Step 5: Pages
This step allows you to modify your site’s structure by customizing the pages and sections of your website.
- Add Key Pages: You can select from pre-designed pages like Home, About, Services, Contact, etc.
- Add Sections: Customize each page by adding as many sections as you need. For example, you can add sections like Classes, Testimonials, Yoga Packages, etc.
- Detailed Prompts: You can also provide expanded instructions to every section, offering suggestions to the AI on how to create customized content on your site.
Step 6: Colors & Fonts
Finally, style your future website by selecting the Colors and Fonts.
Step 7: Generate Your Website
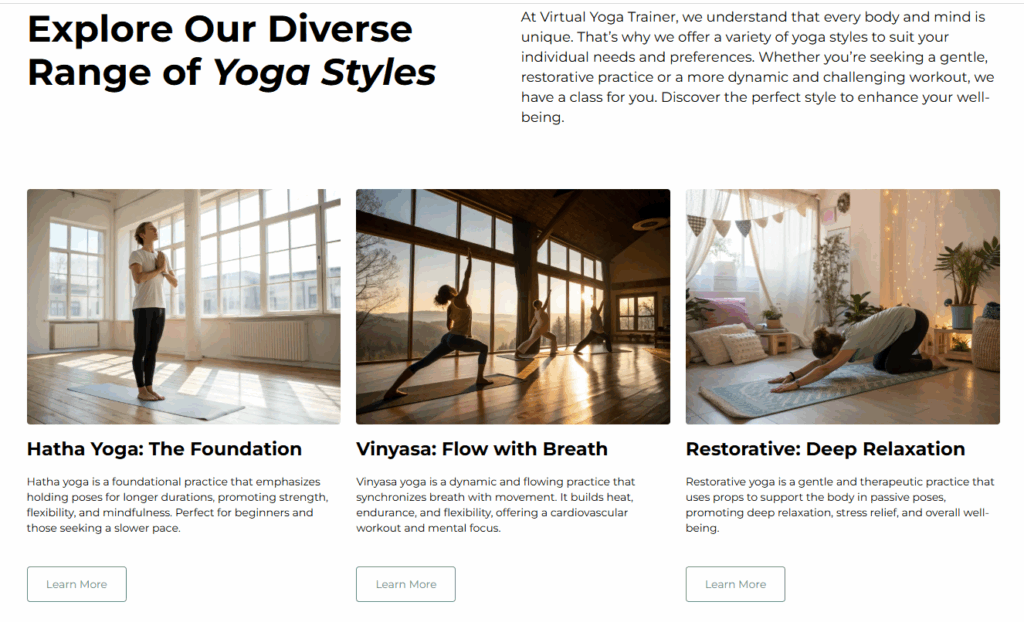
Once you’ve customized the site type, site info, pages, and styling, click on the “Generate” button. 10Web’s AI will then create your WordPress website with all the tailored content and design elements.
Why 10Web Is a Standout:
- Real WordPress websites with full customization
- Uses Elementor for easy editing
- Includes secure hosting + SEO optimization tools
- Offers import functionality for existing sites
What to Know:
- Requires a paid plan after the trial
- AI-generated text and images need human refinement
Pro Tip: Use 10Web for a seamless WordPress experience complete with AI support, full hosting, and visual design tools.
Final Thoughts: Can You Build a WordPress Website Using AI?
Absolutely – if you use the right tool for the right stage.
We prototyped with Lovable, built in seconds with ZipWP, and customized and hosted with 10Web.
Now that you know how to build a WordPress website using AI, it’s all about leveraging these tools to enhance your creative process and make your website-building experience more efficient.
These tools do not substitute your creativity but make you work even faster, reduce the technological threshold, and have more room to concentrate on the most important job things: content, conversion, and connection.
Are you ready to use AI WordPress website builder?

 By
By
 By
By